
Creating a Hosted Checkout page
With the Hosted Checkout solution, we enable you to build and manage your product catalog right in BlueSnap, and then to create checkout pages for your products.
Step 1: Set up products and contracts
You begin by setting up a product and one or more contracts for that product. A product is an item you are selling. For example, if you sell video games, one of your games would be a product.
Each product has one or more contracts. You set up a different contract for each version and price point of your product. In the contract, you define the settings such as the price, subscription plan type, or coupon options.
You can create up to 40,000 products and 40,000 contracts with your merchant account.
For example
If you sell Nintendo and PlayStation versions of a racing video game, you might set up one product for the game and then contracts for each version:
- one Nintendo contract
- one PlayStation contract
Each contract has its own unique checkout page with a different URL, or you can use our "Continue Shopping" skin if you want to enable shoppers to keep browsing and adding more items to the checkout page.
Set up your products
Follow these steps to set up a product in BlueSnap:
-
In the Merchant Portal, go to Product Catalog > Products in the left menu.
-
Click New Product.
-
Complete all the required fields. For specific information about products, refer here.
-
Click Submit.
The new product is added to your BlueSnap account.
Tip: Set up just a couple of products in the Sandbox
If you are currently working in the Sandbox, we recommend that you save time by only setting up one or two products for testing purposes. When you are ready to move to Production, you can then set up your full product catalog there.
Set up your contracts
For detailed instructions on creating a contract, refer here.
Step 2. Customize your checkout page skins
Your checkout page skins, or templates, determine the look and feel of the checkout page, including fonts, colors, and more.
It is recommended to set up both a mobile and a desktop skin. BlueSnap will automatically detect the device the shopper is using and will display the relevant skin to the shopper for the optimal checkout experience.
-
In the Merchant Portal, go to Checkout Page > Page Design in the left menu. Click the Preview button on a skin to view it in more detail.
-
In the Skin Library, click Select on the skin style you'd like to use.
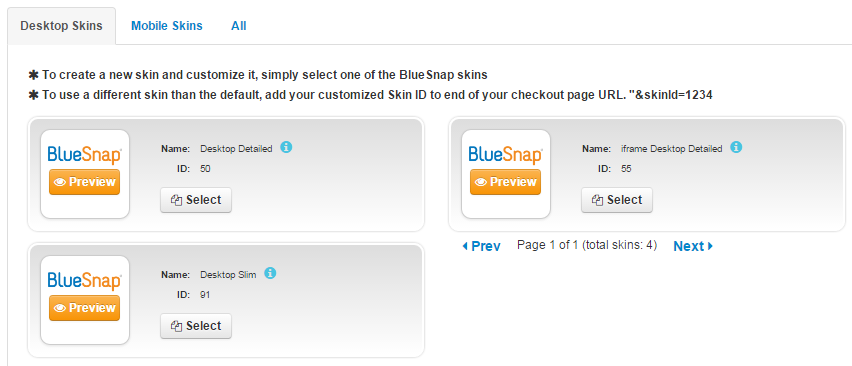
Which skin to choose?
Make sure you choose the right skin according to your needs. Here are some tips:
Want to embed your checkout page within your own website? To enable this, choose the iframe Desktop Detailed skin. If you want the redirect to open in the top frame (i.e. the main window), make sure to select the Top frame redirect option when you set up your iframe skin. Refer to Embedding a checkout page.
Want to enable shoppers to keep browsing and adding more items to the checkout page? Use the Continue shopping Desktop skin.
Want to enable easier checkout by collecting minimal shopper info? Use the Desktop Slim and Mobile Slim skins.
-
Give the skin a name and click Save.
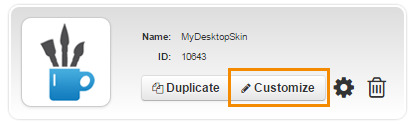
Your new skin appears in the library and can be customized. -
Click Customize.
-
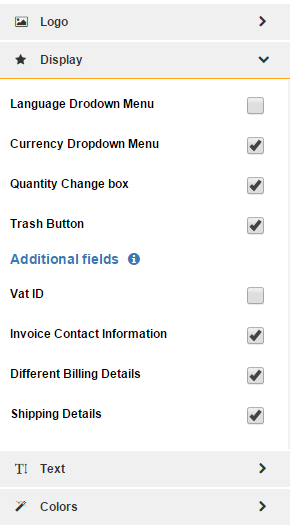
You can now edit the fonts and colors, upload your company logo, and choose whether to show or hide options like the currency and language menus, quantity selection box, and more.
-
Optionally, you can preview the entire checkout flow by clicking Start Test BuyNow Flow at the bottom of the checkout page preview.
-
When you have finished customizing the skin, click Save.
Note
In support of the Card on File regulation, your shoppers will have the option to store their payment information for later use. Their options depend on the product they are purchasing:
- If a subscription product is on the checkout page, the checkbox for '"Securely store card details for recurring payments or future transactions" will be automatically checked, and the blue button below will say Subscribe.
- If there are no subscription products on the checkout page, the checkbox will be unchecked and the blue button below will say Submit.
Step 3. Apply the skin
To choose which skins will be used for checkout on mobile and desktop, you will need to apply them in the skin settings.
Skins apply to all contracts by default
By default, the skin settings apply across all contracts in your account. You can also apply a specific skin to a specific contract by inserting the
skinidparameter in the checkout page URL, with the skin ID number as the parameter value. You can find the skin ID numbers in the Skin Library.
-
In the Merchant Portal, go to Checkout Page > Page Design in the left menu.
-
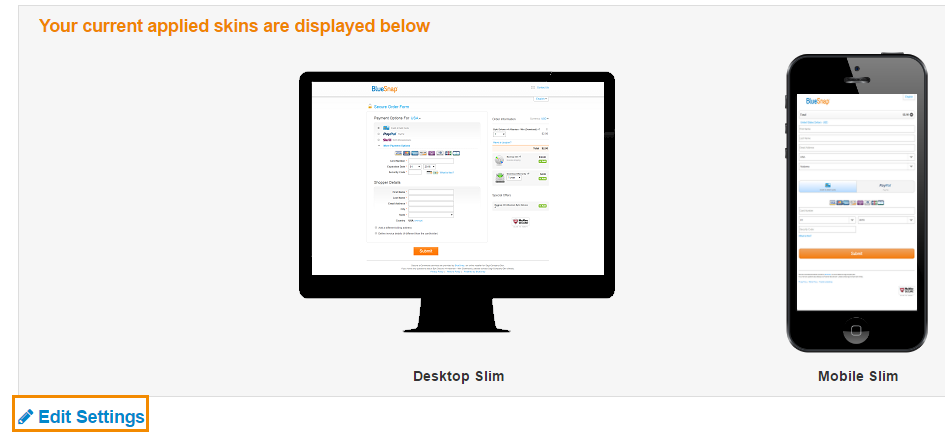
Under the preview of your current applied skins, click Edit Settings.
-
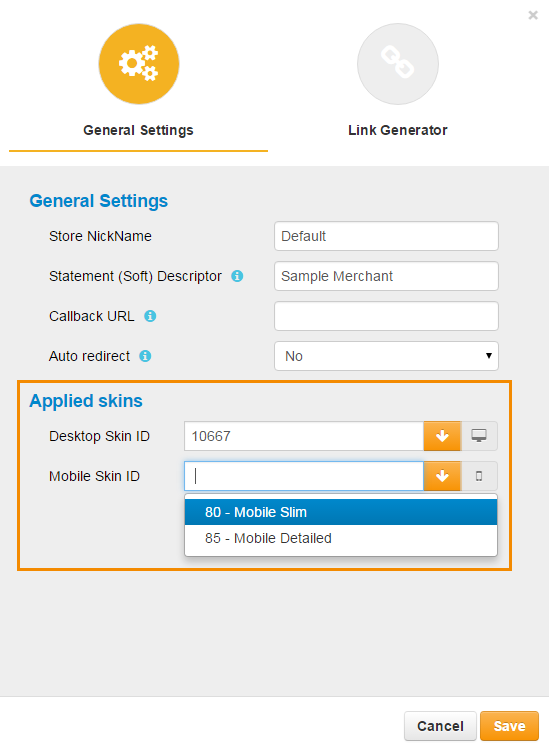
In the Applied skins section, select the desktop and mobile skins you want to use by default for all contracts.
-
Click Save.
Step 4. Launch and get paid
Nice work — you're almost ready to go!
There are a just few more key items that you'll want to handle before launch, such as the redirect, statement descriptor, fraud prevention, and real-time event-tracking via webhooks.
Refer to:
Redirect after a purchase
Statement descriptor
Fraud prevention service levels
About Webhooks
When you are ready to launch, you can either embed your checkout pages, or connect them using a URL.