
Sending Payment Receipts
This guide outlines two options for sending payment receipts and includes instructions for both automated and manual methods.
Option 1: Enable "Sent Payment Receipts" Setting
- Log in to your AR Automation account and navigate to the Preferences page.
- In the Preferences menu, click on the Payments tab.
- Look for the Send Payment Receipts setting and enable it.

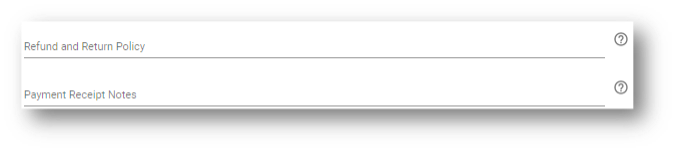
- You can also add Payment Receipt Notes and a link to your Refund & Return Policy to the email template by providing the relevant information in the Preferences section.
Enabling this setting ensures that a receipt template email is automatically sent for any payment made through your AR automation account.
Note
Please note that this setting will not trigger payment receipts for payments made prior to its activation.
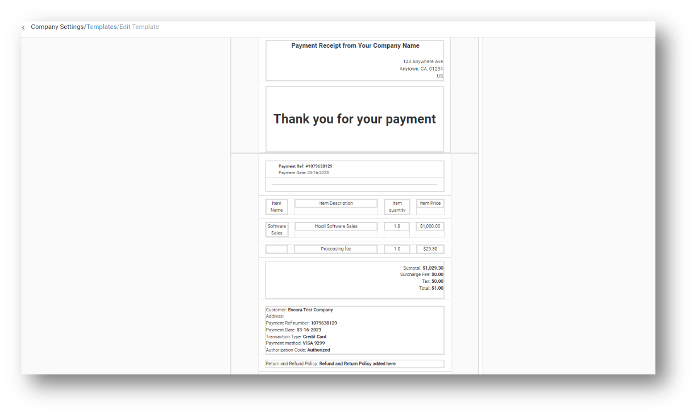
Example of a payment receipt email template
Option 2: Automated Payment Receipts using Cadence
Payment receipts can be sent out automatically using a cadence. All you have to do is add a step in your cadence using the condition Payment Receipt and then Email for the communication type.
If you prefer to send payment receipts automatically using a cadence, follow these steps:
- Create or select an existing cadence that you would like to add the Payment Receipt condition to.
- Set the communication type to Email and configure the step by selecting the option for it to be Sent automatically.
- Add a payment receipt email body and subject.
Once the Payment Receipt cadence step is added to your cadence, you may need to assign the cadence to customers. To do so, create a Cadence Assignment Rule that would then apply the cadence to the customers you'd like to receive the confirmation. For example, if you would like it to apply the cadence with Payment Receipt to all customers you can set the following Cadence Assignment Rule criteria:
- Object = Customer
- Filed = Sync Status
- Condition = is Synced
Note
The cadence step Payment Receipt is triggered only for payments processed automatically. If a customer proceeds with a payment manually through Payment Link they will be navigated to the thank you page with payment details.
Manually Sending Payment Receipts
- Ensure that the Payment Receipt step is present in the cadence assigned to the customer.
- In AR Automation, locate the specific payment that you want to send a payment receipt for.
- Identify the Action Menu icon (three dots) on the far right of the payment entry.
- Click on the menu icon and select Send Receipt.
Payment Receipt Placeholders
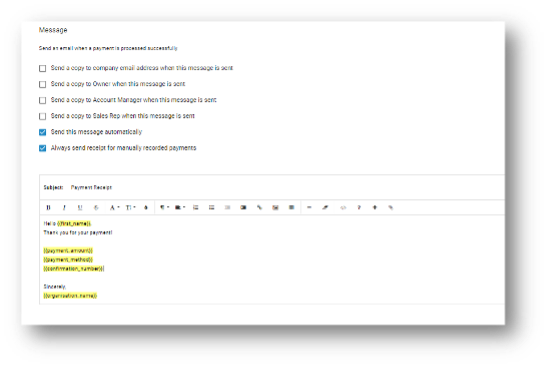
When creating payment receipt communications, you can utilize the following placeholders to personalize the content:
- Payment Amount: This placeholder represents the amount of the payment made.
- Payment Method: Use this placeholder to include the payment method used (e.g., credit card, bank transfer).
- Confirmation Number: Include this placeholder to provide a unique confirmation number for the payment.
Updated 8 months ago