Payment Processing with AR Automation
Learn how to use our AR Automation and BlueSnap integration to process your payments.
AR Automation provides flexibility to help you manage your payment processing with BlueSnap:
- Leverage AR Automation features to create accounts receivable workflows with BlueSnap and your ERP system.
- Use AR Automation only as a connector between BlueSnap and your ERP system without enabling AR Automation features. This is ideal if you already have established invoicing and customer communication workflows in your ERP system and only want BlueSnap to handle payments and reconcile customer balances automatically.
You can process payments manually through our unique and secure Payment Link feature, or you can process payments automatically by setting up auto payment rules.
Benefits
- Simplest level of PCI compliance: SAQ-A
- Secure payment links for single or multiple invoices
- Increase shopper confidence by allowing them to enter their own sensitive payment details
- Ability to securely store payment methods at a customer level
- B2B Level 2/3 data processing
- Let customers enter a payment amount
- Virtual Terminal for your employees to enter payment information
- Synching payment data with ERP systems
Supported Payment Methods
- ACH/ECP (electronic check)
- Apple Pay
- Credit cards
- Google Pay
- PayPal
- SEPA Direct Debit
Requirements
If you need an AR Automation account, go to the AR site to sign up.
If you need a BlueSnap account, go to the BlueSnap site to get started.
Supported Currencies
We recommend configuring your account to accept only BlueSnap Supported Currencies.
Supported Countries
If a shopper is located in one of these supported countries, they can purchase with the BlueSnap payment module.
Steps
1. Create an AR Automation account and connect it to BlueSnap
This guide walks through how to connect your AR Automation account to BlueSnap's payment gateway technology.
2. Connect your ERP/Accounting System to AR Automation
AR Automation can be used in conjunction with your Sage Intacct or NetSuite accounting system to synchronize your customers, invoices and payments automatically, every two hours.
The following guides connect your Accounting System to the AR Automation system:
3. Setting up Payment Settings
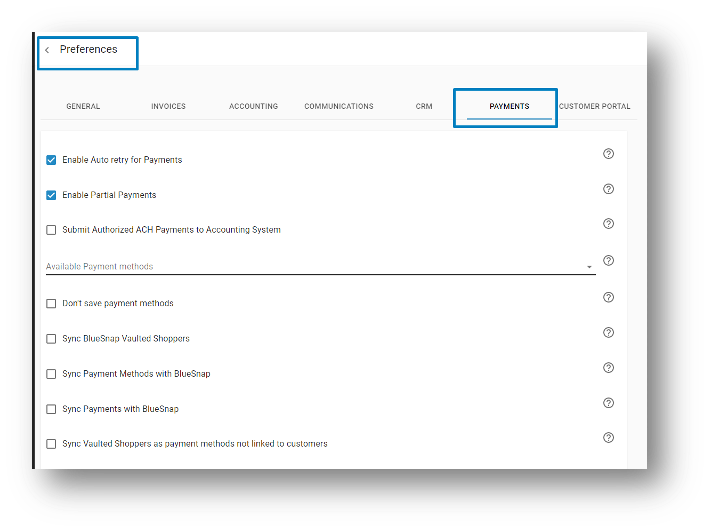
You can adjust your payment settings in your AR Automation account by going to Account > Settings > Preferences > Payments tab.
All settings with a description are listed in our documentation.

4. Selecting Payment Account for Reconciliation
Payments available in AR Automation are immediately synced with accounting/ERP systems, marking the invoice as paid or partially paid in your Accounting System. To ensure your payments are synchronized to Accounting System, it is needed to select Payment Account where payment should be deposited in your accounting/ERP system. For example, if your AR Automation account is connected to Sage Intacct, the payments can be deposited to the Undeposited Funds account or you may select any specific Payment Account from the list we import from your accounting.
Select the Payment Account:
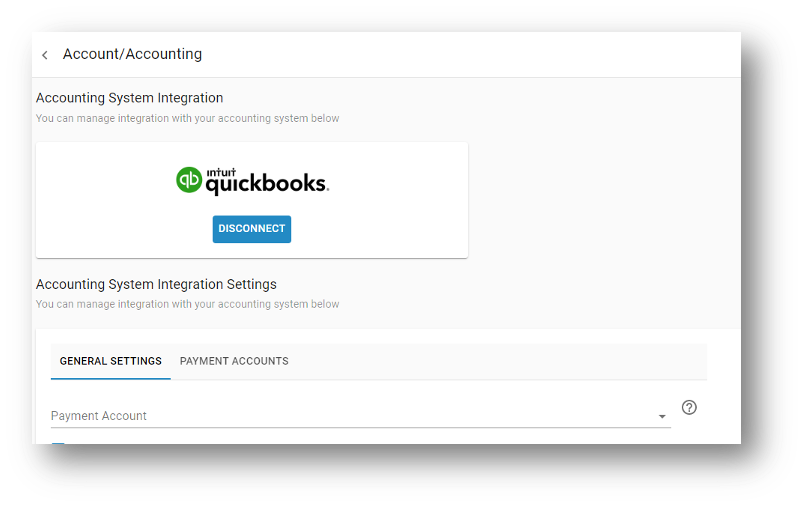
- Click on your initials in the lower-left corner and navigate to Account > Accounting.
- In the Accounting System Integration, use the Payment Account dropdown list to select the payment account to which you want to deposit funds.

Multi-Currency Payments
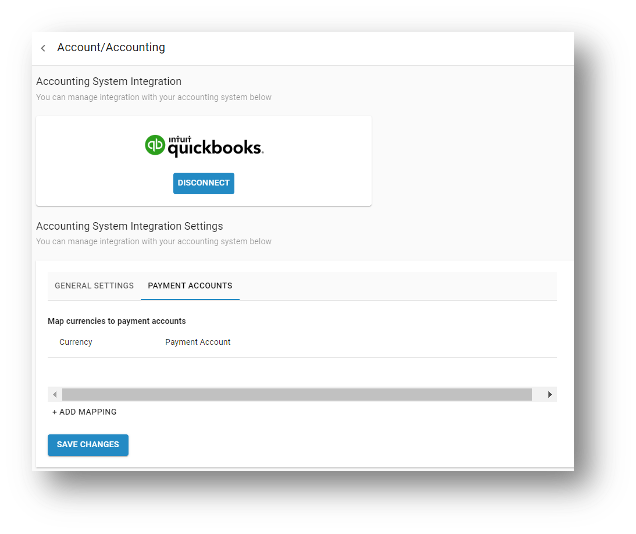
If you take payments in many currencies and want to deposit them to separate payment accounts in your accounting/ERP system, go to the payment page and pick the currency of the payments as well as the payment account to which they should be deposited.

5. Enabling Payment Methods
Now, specify which payment methods you want your shopper to have on the Payment page. To enable a payment method on your AR account, go to Settings > Preferences > the Payments tab. Learn more about how to set up those payment methods.
6. Enabling Webhooks
Payment statuses are synced from BlueSnap to the AR Automation account via webhooks. We set up the server and URL on our end; all you need to do is configure the webhook settings in your BlueSnap account.
Webhook URL
You can find your webhook URL in the AR Automation account.
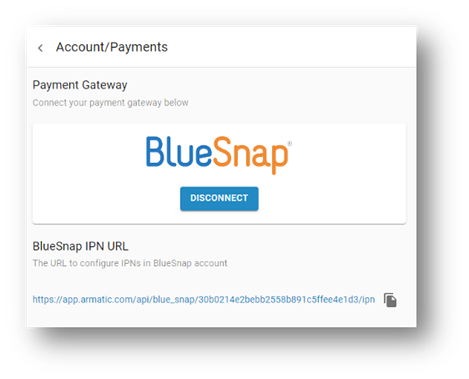
Click your initials in the lower-left corner and go to Account > Payments.
The BlueSnap IPN URL section provides your unique webhook URL.
The next step is to enable webhook settings on your BlueSnap account. Find a step-by-step guide on enabling webhooks here.
You must enable the following webhooks on your BlueSnap account settings to ensure payments are imported:
ChargeCharge PendingDeclineAuth OnlyDeclineRefundAccount Updater
Accepting Payments
Manual Payment Processing
Your customers can make payments through the AR Automation system while your accounting/ERP system remains in sync. There are various ways of accepting payments such as Payment Link, Pay Balance Link, and Virtual Terminal.
Learn more about the different ways to collect payments.
Automatic Payment Processing
You can set up automated payment schedules and let your customers pay invoices right away with online payments.
Payment Automation Levels
- Customer Level (Auto Pay Schedule) — Lets you automatically pay all open invoices for a particular customer, according to a specific schedule. Auto Pay Schedule is configured individually for every customer and supports daily, weekly, monthly and annual schedules.
- Invoice Level (Auto Pay Rule) — Lets you automatically pay all invoices on the account that satisfy certain conditions. Auto Pay Rule is a named invoice filler (e.g., balance > $1000 AND Date > 2019-08-01). Whenever an invoice is created or modified, it is checked against the Auto Pay Rules set up in the account. If the invoice satisfies all conditions of an Auto Pay Rule, it will be automatically charged.
Learn more about flexible automatic payment processing options.
Virtual Terminal
Virtual Terminal in AR Automation allows you as a merchant to process payments and add a payment method on the shopper's behalf. Learn more.
Issuing Refunds
Learn how to issue refunds through AR Automation in a few easy steps.
Updated about 2 months ago

