Zapier Setup
Learn how to connect BlueSnap and Zapier for elegant task automation and streamlined data transfer to your favorite apps.

Zapier is a tool that enables you to connect your BlueSnap account to 1500+ supported apps, such as Salesforce, Google Sheets, and Zendesk — just to name a few. Our integration with Zapier allows simple, effortless data transfer from BlueSnap into those apps, letting you strategically automate tasks, such as:
- Importing transaction data into Excel, Google Sheets, or Zoho Reports
- Logging transactions in QuickBooks
- Creating new customers in Salesforce
- Adding contacts to HubSpot
Requirements
Zapier and BlueSnap Accounts
You must have accounts at both Zapier and BlueSnap to proceed.
If you need a Zapier account, go to the Zapier website to sign up.
If you need a BlueSnap account, go to the BlueSnap website to get started.
Webhook Integration
In this integration method, you configure your BlueSnap account with Zapier using BlueSnap webhooks.
- From your Zapier account dashboard, click Create Zap!

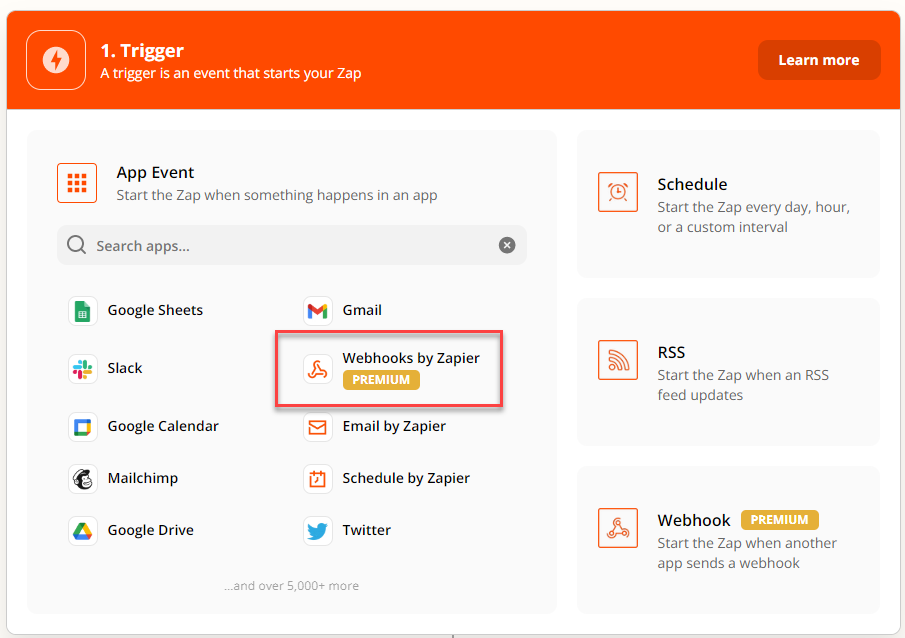
- Choose Webhooks by Zapier App Event, under the Trigger Step.

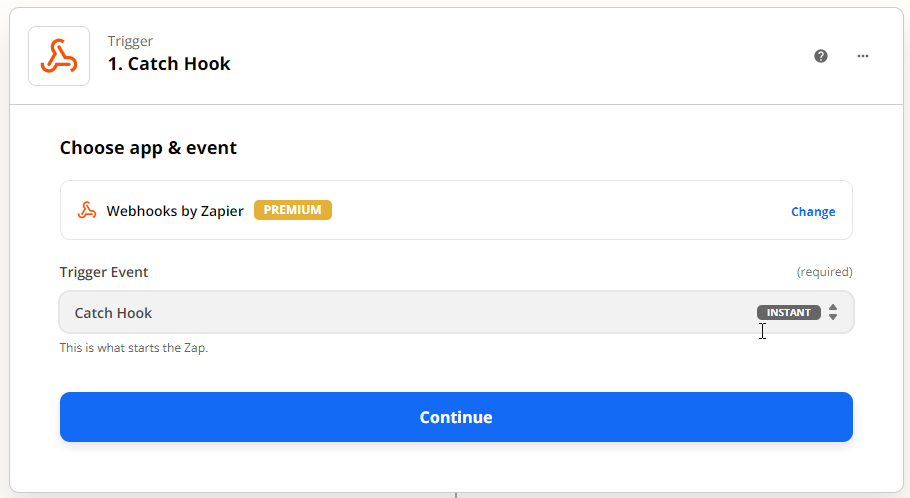
- Select Catch Hook as the Trigger Event and click Continue.

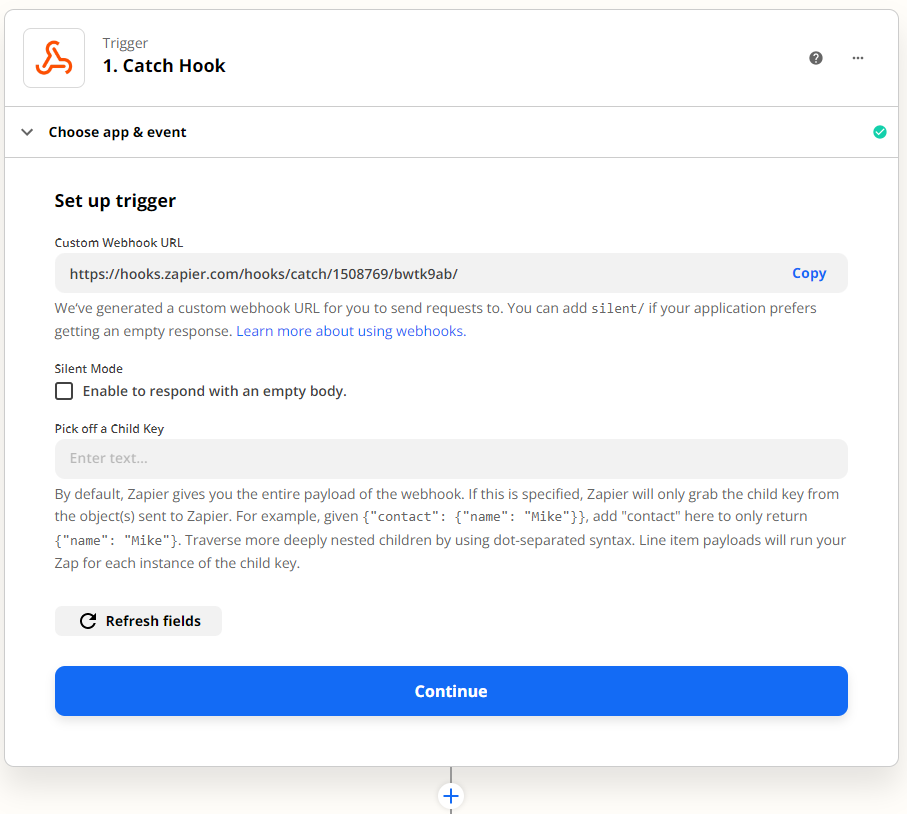
- Copy your uniquely generated Custom Webhook URL and click Continue (The Pick off a child key step is optional).

-
In a new tab, log in to your Merchant Portal and go to Settings > Webhook Settings.
-
In the Notifications section, enable the Receive Instant Payment Notifications option.
-
In the Endpoint URL field, paste the Zapier-generated URL. All enabled webhook types are sent to this URL. Once you have entered your URL, you can test it by clicking the Test URL button to the right of the entry field.
Enabling Webhooks for Specific Contracts
If you are hosting your product catalog on BlueSnap, you may wish to enable webhooks for a specific contract. For example, you may wish to send an email every time someone purchases that recently launched video game. To do so, refer to webhooks for specific contracts.
-
To enable specific webhooks, toggle the button next to the webhook to select it.
-
When you're done, click Submit.
-
Your Zapier account shows that the webhook test was successful.
-
Click Continue and proceed to the next step.
Now that you connected your BlueSnap account to Zapier, you need to decide what you would like to do with this data. -
In Zapier, click Do this...
-
Select an App and an Action Event.
For example, you can select HubSpot as your App and Create Contact as your Action Event to update your HubSpot contacts after each BlueSnap transaction.
You have now completed your Zapier + BlueSnap setup.
Updated 3 months ago
