
Virtual Terminal Setup
with Hosted Payment Pages
These are the main steps to setting up your Virtual Terminal:
Step 1: Set up API credentials
Step 2: (Optional) Create your product catalog in BlueSnap
Step 3: (Optional) Define the Virtual Terminal page look and feel
Step 4: Configure the Virtual Terminal Settings
Step 1: Set up API credentials
BlueSnap uses API keys to maintain the security of your Virtual Terminal. To set up your Virtual Terminal, start by configuring up your API credentials and Data Protection Key, as follows:
-
Go to Settings > API Settings in the top menu of the Merchant Portal.
-
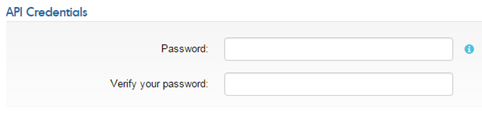
Define your API password by entering it in the Password and Verify your password fields.
-
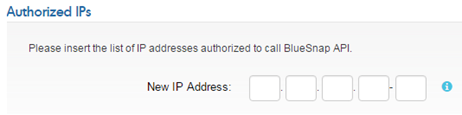
In the New IP Address field, enter the IP address to be used for API calls. You can add up to fifteen IP addresses or a subnet.
-
Click Request API credentials. The credentials are generated and your new API username is displayed.
-
Go to Checkout Page > Payment Methods in the left menu.
-
In the Data Protection Key field, enter a password of at least 6 characters, and then click Submit.

Step 2: (Optional) Create your product catalog in BlueSnap
If you would like to host your product catalog on BlueSnap, you can set up products and contracts in your account. You can then select a specific product and contract to purchase when you use the Virtual Terminal to place an order.
For details about products and contracts and how to set them up, refer to:
Tip: Set up just a couple of products in the Sandbox
If you are currently working in the Sandbox, we recommend that you save time by only setting up one or two products for testing purposes. When you are ready to move to Production, you can then set up your full product catalog there.
Step 3: (Optional) Define the Virtual Terminal page look and feel
Your page skins, or templates, determine the look and feel of the checkout page, including fonts, colors, and more.
If you want to customize the look & feel of the Virtual Terminal checkout page, follow these steps:
-
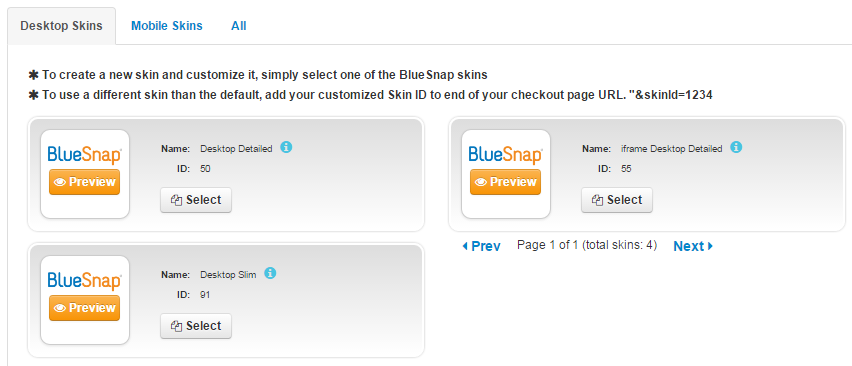
In the Merchant Portal, go to Checkout Page > Page Design in the left menu. Click the Preview button on a skin to view it in more detail.
-
In the Skin Library, click Select on the skin style you'd like to use.
-
Give the skin a name and click Save.
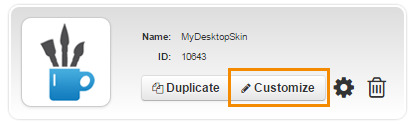
Your new skin appears in the library and can be customized. -
Click Customize.
-
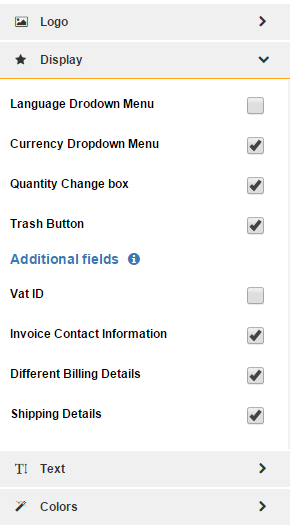
You can now edit the fonts and colors, upload your company logo, and choose whether to show or hide options like the currency and language menus, quantity selection box, and more.
-
When you have finished customizing the skin, click Save.
-
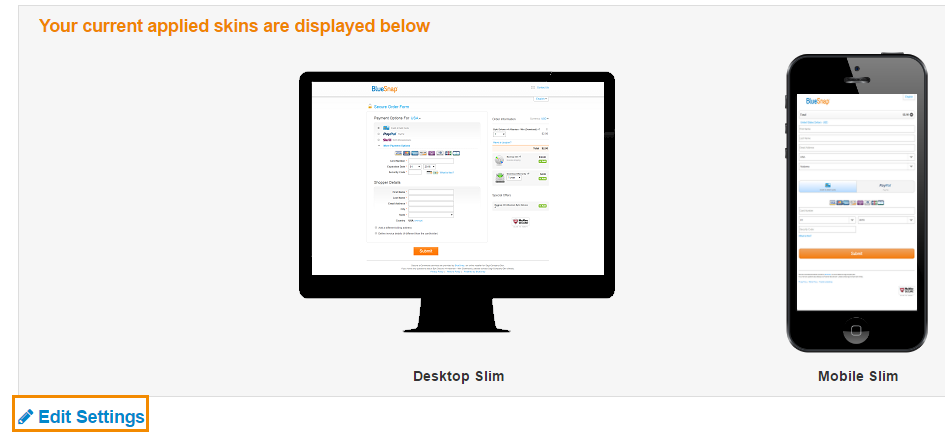
To apply the skin, click Edit Settings under the preview of your current applied skins.
-
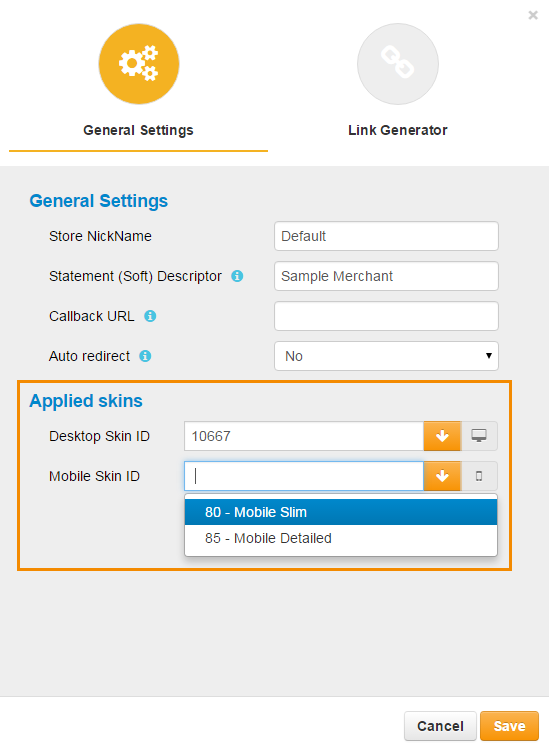
In the Applied skins section, select the desktop and mobile skins you want to use by default for all contracts.
-
Click Save.
Step 4: Configure Virtual Terminal Settings
In this step, you define which of your products and contracts the Virtual Terminal can be used for, and choose which fields can be customized when generating the Virtual Terminal page to process a payment.
Language Settings
Note that the language selected under Virtual Terminal > BuyNow will be the default language for emails. It will override the default language set by your browser.
-
Go to Settings > Virtual Terminal.
-
Choose Show or Hide next to each field to define whether it will be available for customization on the Virtual Terminal page.
Hidden fields use the value you set for the relevant contract. For example, if you hide the Skin Selection option, the default skin you configured is used; and if you show this option, then a different skin can be selected on the Virtual Terminal Settings page. -
If you selected Show for the Products/Contracts field, then in the Select Contracts menu, select all of the contracts that can be purchased using the Virtual Terminal. This setting is relevant only if you have set up a product catalog in BlueSnap. If you add more contracts later, you must return here to enable them in the Virtual Terminal.
-
Click Submit.
To enable price changes, make sure "override price" is enabled in the contract
If you choose to show the Price (so that it can be changed when making a payment through the Virtual Terminal) make sure that you also enable the override price setting in each contract.
To do this, go to the contract settings. In the Discounts area, from the Allow Override Price menu, select Yes, encrypted parameter.

Updated 6 months ago